Swagger-ui Spring-boot集成方法
现在做的Java项目基本上都是前后端分离的,后端只提供api接口即可,和前端交互的时候都是用json,程序员都讨厌写文档,但是不写接口文档肯定要被前端开发喷死.
Swagger-ui介绍
Swagger是个前后端协作的利器,解析代码里的注解生成JSON文件,通过Swagger UI生成网页版的接口文档,可以在上面做简单的接口调试 也可以自动生成文档给前端人员调试
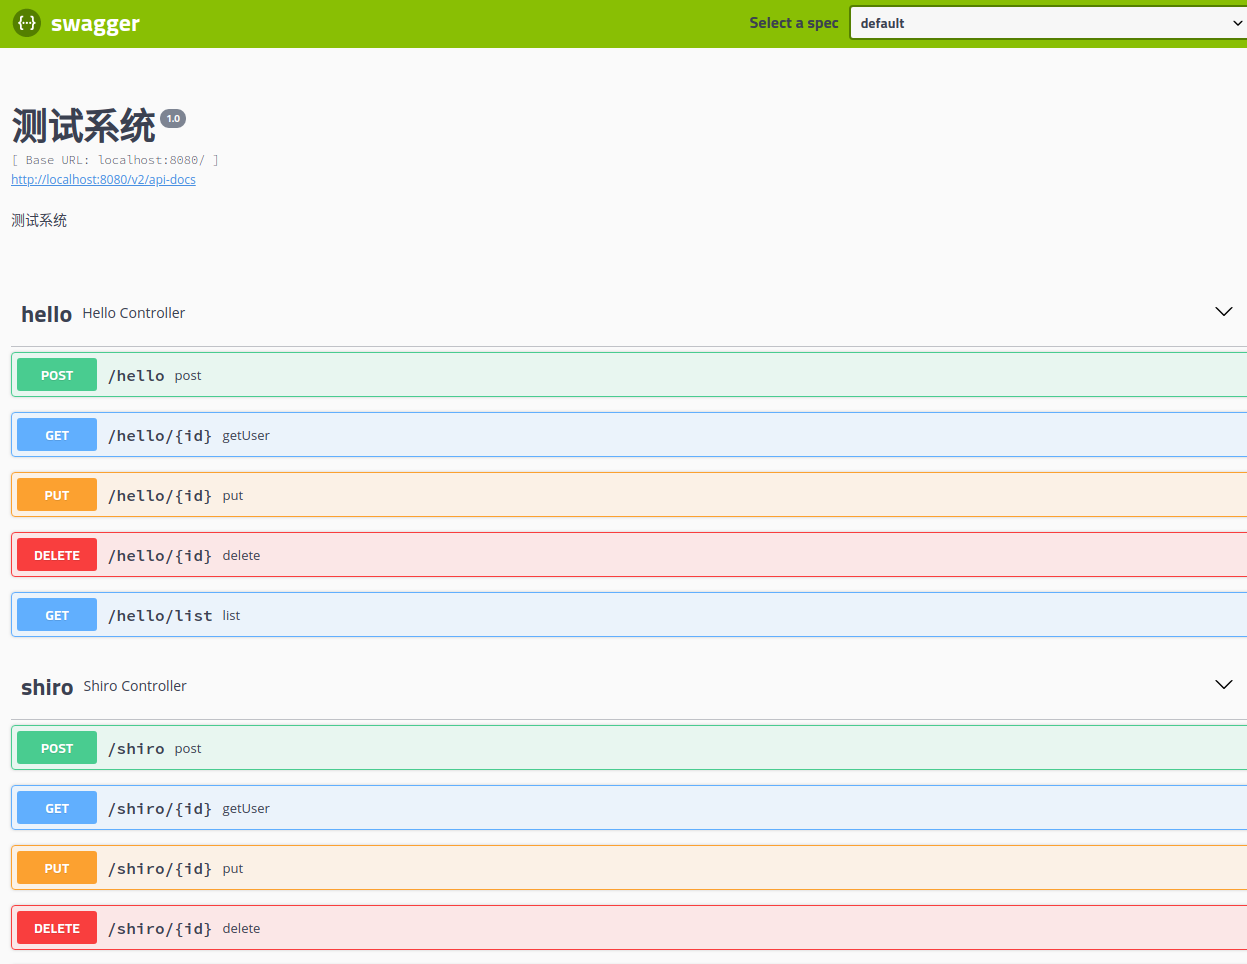
页面:

使用方式
引入依赖:
1
2
3
4
5
6
7
8
9
10
11
12
13
| <springfox.swagger2.version>2.8.0</pringfox.swagger2.version>
<dependency>
<groupId>io.springfox</groupId>
<artifactId>springfox-swagger2</artifactId>
<version>${springfox.swagger2.version}</version>
</dependency>
<dependency>
<groupId>io.springfox</groupId>
<artifactId>springfox-swagger-ui</artifactId>
<version>${springfox.swagger.ui.version}</version>
</dependency>
|
配置
1
2
3
4
5
6
7
8
9
10
11
12
13
14
15
16
17
18
19
20
21
| @Configuration
@EnableSwagger2
public class SwaggerConfig {
@Bean
public Docket api() {
return new Docket(DocumentationType.SWAGGER_2)
.apiInfo(apiInfo())
.select()
.apis(RequestHandlerSelectors.basePackage("cn.infisa.swagger"))
.paths(PathSelectors.any())
.build();
}
private ApiInfo apiInfo() {
return new ApiInfoBuilder()
.title("测试系统")
.description("测试系统")
.version("1.0")
.build();
}
}
|
标记RestController
主要用到两个注解 @API 和 @ApiOperation
@API
用于注解类
@ApiOperation
用于注解方法
将上述注解加到需要生成接口文档的RestController和RequestMapping上,之后启动服务即可生成接口文档。
输入:http://localhost:8080/swagger-ui.html即可访问API列表。
使用
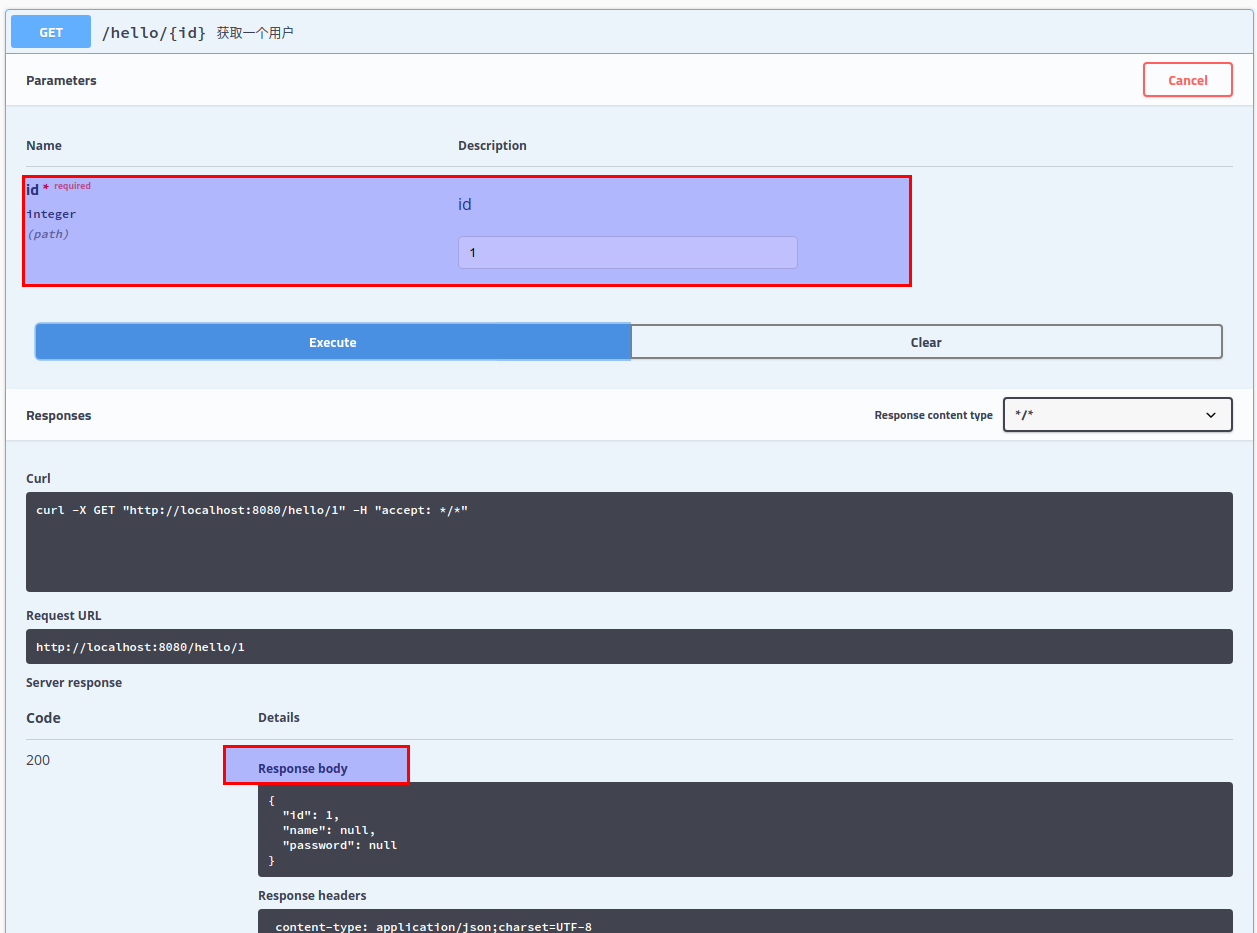
get接口

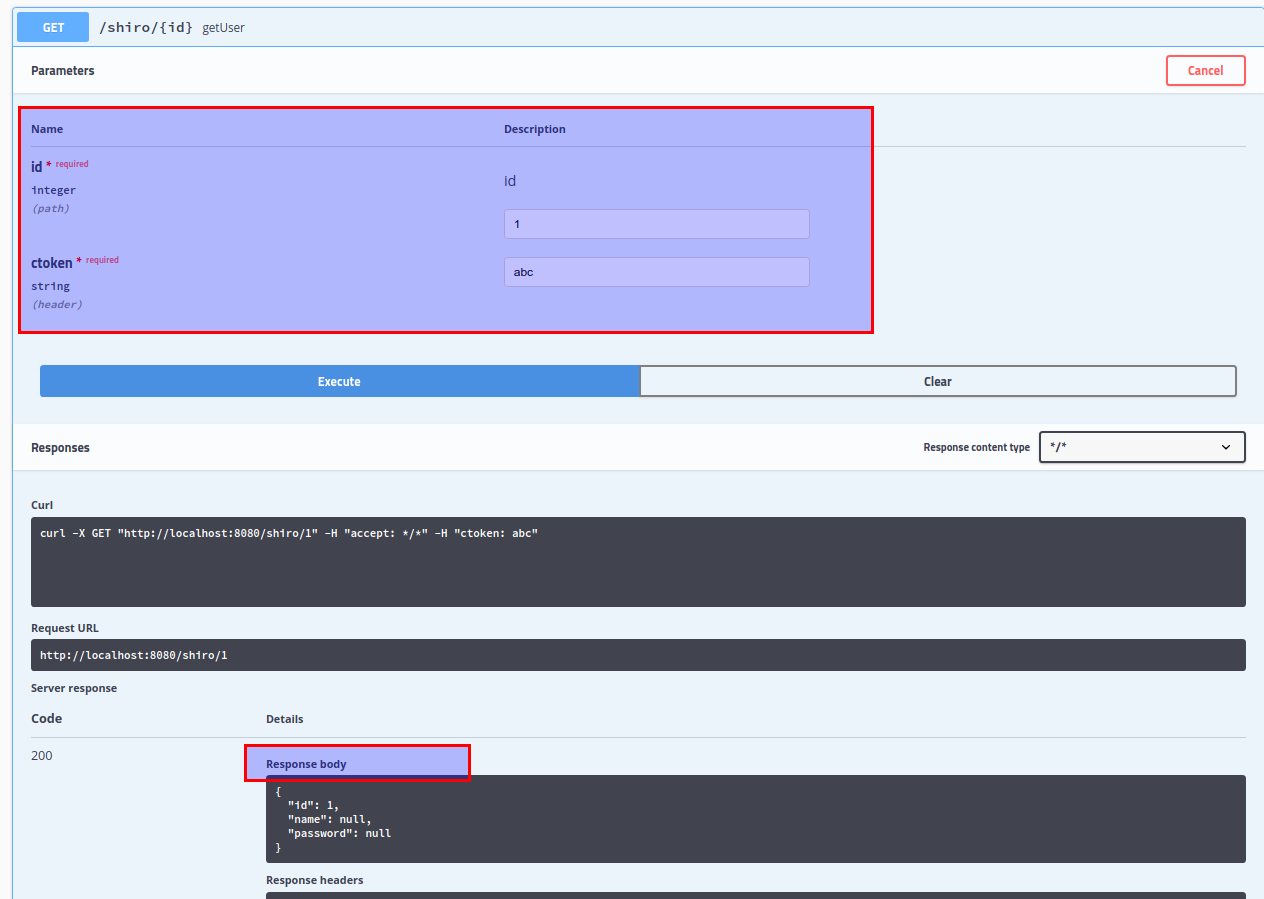
shiro get接口

Q&A
1. shiro的集成
- 在shiro中放行swagger-ui的页面
1
2
3
4
5
|
chains.put("/swagger-resources/**", "anon");
chains.put("/webjars/**", "anon");
chains.put("/v2/**", "anon");
chains.put("/swagger-ui.html/**", "anon");
|
- 请求中加入ctoken参数,方法上增加注解
1
2
3
| @ApiImplicitParams({
@ApiImplicitParam(name = "ctoken", required = true, value = "a", paramType = "header"),
})
|


